Ben Rothman - WordPress Developer Website Archives - ©2023 Ben Rothman, Web Developer

Blog

My blog is dedicated to sharing my expertise, recommendations, and tutorials on WordPress. If you're interested in developing with WordPress, my blog is a valuable resource that you won't want to miss.

Categories
Web Development Website

How to start over with docker

docker system prune && docker volume rm $(docker volume ls -q)

Sometimes when I get to the end of my rope with Docker and it is behaving in way that I know it shouldn’t I run a simple little shell command to delete all of the images and volumes to allow me a fresh start and then everything works.

Note: Results not guaranteed but it works a lot.

Categories
Web Development Website

I forgot mysql password on a local server, how do I enter the command line?

Just run mysql with a different file as the defaults file:

sudo mysql --defaults-file=/etc/mysql/debian.cnf

Categories
Plugin Web Development Website WordPress

WordPress: Cloudflare Plugin

Obviously not all WordPress sites use cloudflare, in fact many of them don’t. BUT, if you have a WordPress site and you happen to be one of the people who uses Cloudflare with the site like I do from time to time then you need the Cloudflare plugin.

Why do we need the plugin? We can control everything by logging into Cloudflare and changing the configuration there. That is true, but things like purging the server cache or turning on “development mode” (a great feature) are possible without leaving the comfort of the site if you have the Cloudflare plugin installed and configured.

Just because I know any readers are wondering, “Development Mode” suspend Cloudflare’s edge caching, minification, Polish and Railgun features for three hours so that changes to images, CSS files or Javascript files can immediately be seen by users of the site. Although the site will not load as fast, development mode is good for development since the developer is constantly changing those files and using cached versions would be silly and cause the developer to think there are problems with the new code when there are none.

Categories
Website WordPress

Could not create directory. Installation failed.

This happens sometimes after migrating from one host to another. The problem boils down to a permissions issue. If you copied the uploads folder to the new server via an ssh connection sometimes the owner of the files copied will be whoever you connected with to perform the copy.

If you want to confirm that this is in fact the issue you can run:

$ ls -ld /var/www/html/wp-content/

and you may see something like:

`

drwxr-xr-x 5 root root 4096 Feb 11 08:29 /var/www/html/wp-content/`

Which says that root is the owner because that is the user that copied the file onto the server, even though for WordPress to write to the folder, the owner needs to be www-data. This issue can easily be fixed by issuing the following command:

$ sudo chown -R www-data:www-data /var/www/html/wp-content/

Now the owner will be www-data and you will be able to upgrade files again! Happy WordPressing!

Categories
Website WordPress

How to Login to WordPress

You just installed WordPress, you are feeling tech-savvy… you basically invented the internet, haha

You were able to create your nice site, or maybe got started, but you quit your browser or logged out or something else logged you out and now you just want to get back onto the WordPress dashboard. When you first set up the site it logged you in automatically, getting back in is only a little harder.

In your URL bar just navigate to <yourwebsite.com>/login: (you may have customized the URL or something so that /login will not work anymore, but this method is the default and will work as long as you did not customize anything) ((if you know what I mean then you know if you customized the URL, if you know, you know))

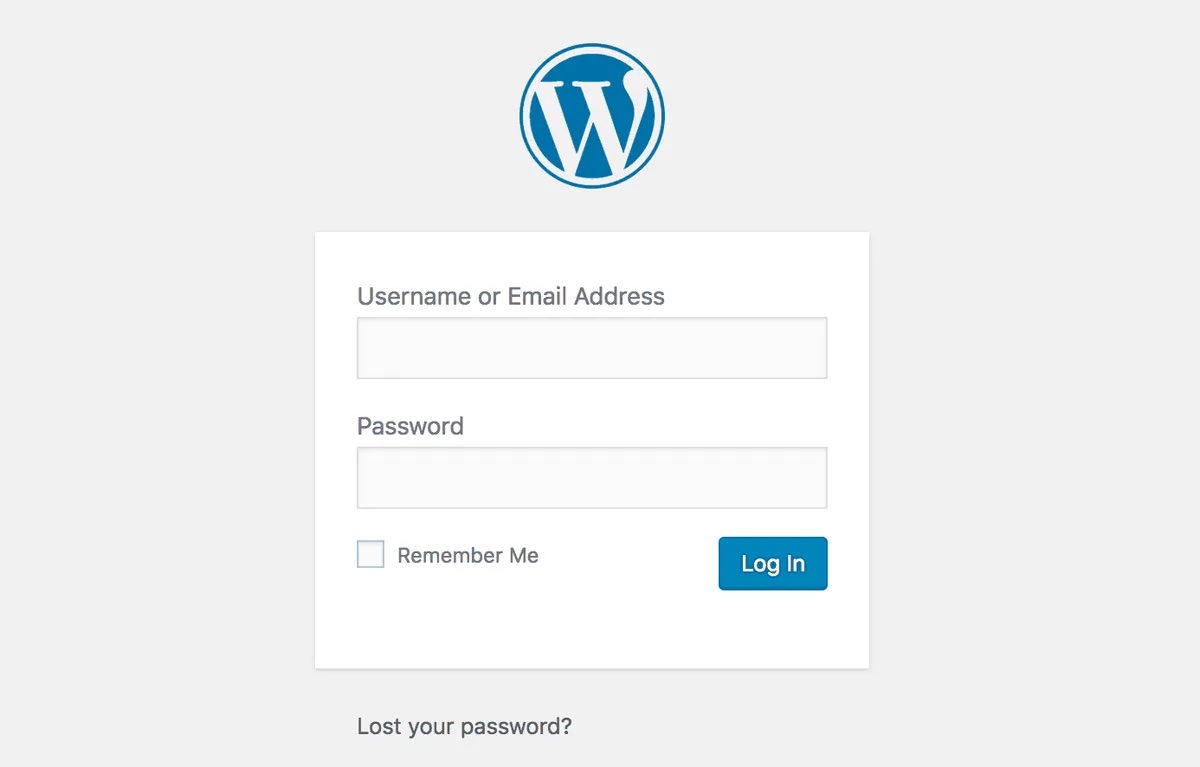
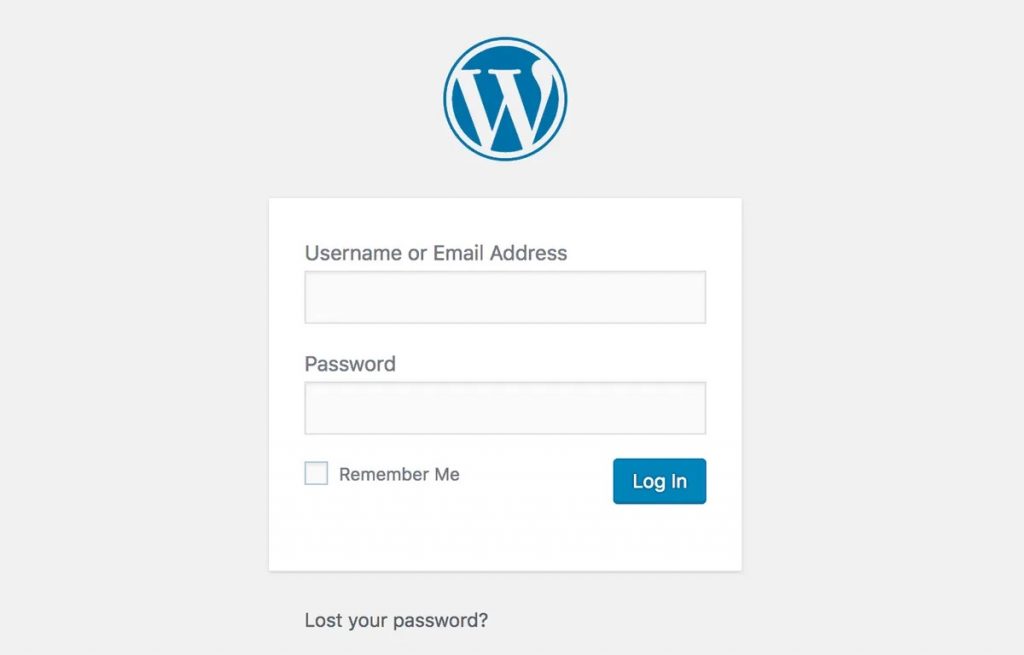
That simple step was the first of two steps, both of which are easy! After entering the URL described above, you wil be brought to the WordPress login page:

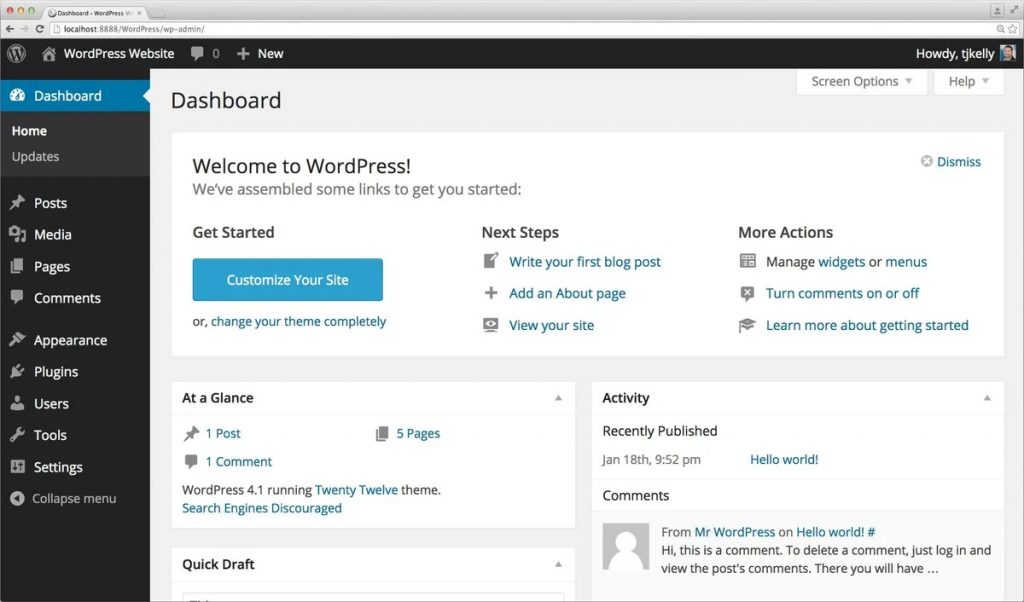
The above picture is what it looks like by default, but you can customize your login page if you want. Type in the username and password combo for the administrator account that you set up when you first created the website, click “Log In” and BAM, you are now on the WordPress Dashboard pictured below:

Your dashboard may look slightly different if you have installed plugins or customized it in other ways, but the dashboard is the dashboard. If you see something that resembles the image above then you have achieved great success and you are logged in!

Categories
Project Web Development Website

Park Picker

This project is written with PHP, HTML/CSS and JQuery with some light javascript in there too.

I was given a list of parks, tags that relate to them (like dogpark, pond and bike path), the park’s website and a picture of that park; I made all of that information into a JSON file. All of the tags of every park are all listed all together each one time and the user chooses the tags for their ideal park, something that has all of or as many of the tags as possible.

The JQuery then immediately rebuilds the page (without a page refresh) and lists the parks in order of how many tags it has that match the tag criteria as well as gives a grade to each park that shows how many tags.

It’s not a terribly complex project, but it gets an important job done and solves a problem in away that is relatively easy to maintain.

This project can be found on my GitHub at: https://github.com/brothman01/park-picker

Categories
Website WordPress

WordPress: WPOptimize

This life-saver plugin adds a button to the dashboard when installed that allows the administrator of the website to perform certain site optimization tasks such as removing old post revisions, minifying images, removing trashed comments and lots more from the comfort of their own dashboard.

Want to optimize the tables in your database? No problem, just install this handy plugin and with no configuration required you can do that with just the click of a button. If you have a WordPress site and want a boost in performance, as long as the issue(s) causing the slowness are not very uncommon and strange, this is the plugin for you.

Categories
Web Development Website WordPress

How to Add a Custom Taxonomy to Users in WordPress

Last Tested: 2/5/2022

This will guide you through setting up a custom taxonomy that you can add to and change whenever you are looking at the profile of a user, it has functions to register, display and save the changes to the taxonomy. In our example we are going to assign each user a department or departments, to later use to give them access to the page or pages for the given department.

/* Step 1 Register the Taxonomy */
Register the taxonomy by placing the function below in your functions.php file or in your plugin file depending on your preference:

function custom_user_taxonomy() {

  $labels = array(
    'name'                       => _x( 'Departments', 'Departments Name', 'text_domain' ),
    'singular_name'              => _x( 'Department', 'Department Name', 'text_domain' ),
    'menu_name'                  => __( 'Departments', 'text_domain' ),
    'all_items'                  => __( 'All Departments', 'text_domain' ),
    'parent_item'                => __( 'Parent Department', 'text_domain' ),
    'parent_item_colon'          => __( 'Parent Department:', 'text_domain' ),
    'new_item_name'              => __( 'New Department Name', 'text_domain' ),
    'add_new_item'               => __( 'Add Department', 'text_domain' ),
    'edit_item'                  => __( 'Edit Department', 'text_domain' ),
    'update_item'                => __( 'Update Department', 'text_domain' ),
    'view_item'                  => __( 'View Department', 'text_domain' ),
    'separate_items_with_commas' => __( 'Separate department with commas', 'text_domain' ),
    'add_or_remove_items'        => __( 'Add or remove departments', 'text_domain' ),
    'choose_from_most_used'      => __( 'Choose from the most used', 'text_domain' ),
    'popular_items'              => __( 'Popular Departments', 'text_domain' ),
    'search_items'               => __( 'Search Departments', 'text_domain' ),
    'not_found'                  => __( 'Not Found', 'text_domain' ),
    'no_terms'                   => __( 'No departments', 'text_domain' ),
    'items_list'                 => __( 'Departments list', 'text_domain' ),
    'items_list_navigation'      => __( 'Departments list navigation', 'text_domain' ),
  );
  $args = array(
    'labels'                     => $labels,
    'hierarchical'               => true,
    'public'                     => true,
    'show_ui'                    => true,
    'show_admin_column'          => true,
    'show_in_nav_menus'          => true,
    'show_tagcloud'              => true,
  );
  register_taxonomy( 'departments', 'user', $args );

}
add_action( 'init', 'custom_user_taxonomy', 0 );

Step 2: Add the Admin page for the custom Taxonomy by adding the code below to your functions.php file or to a plugin file. We will add this page as a sub-item of the Users menu on the WordPress dashboard. This page will allow us to define the different more specific departments that will be options in our custom taxonomy like ‘Sales’ and ‘IT’. Don’t forget to actually add those departments to the taxonomy or no choices will be rendered:

/**
* Admin page for the 'departments' taxonomy
*/
function cb_add_departments_taxonomy_admin_page() {

 $tax = get_taxonomy( 'departments' );

 add_users_page(
esc_attr( $tax->labels->menu_name ),
$tax->cap->manage_terms,
'edit-tags.php?taxonomy=' . $tax->name
 );

}
add_action( 'admin_menu', 'cb_add_departments_taxonomy_admin_page' );

/* Step 3 */

As the next step we are going to add the code below to… you guessed it, the functions.php file or a plugin file. The code below is going to add the taxonomy we defined in the previous steps to the profile of every user so that we can set each user’s department.

function cb_edit_user_department_section( $user ) {
  global $pagenow;

  $tax = get_taxonomy( 'departments' );

  /* Make sure the user can assign terms of the departments taxonomy before proceeding. */
  if ( !current_user_can( $tax->cap->assign_terms ) )
    return;

  /* Get the terms of the 'departments' taxonomy. */
  $terms = get_terms( 'departments', array( 'hide_empty' => false ) ); ?>

  <h3><?php _e( 'Departments' ); ?></h3>

  <table class="form-table">

    <tr>
      <th><label for="departments"><?php _e( 'Allocated Departments' ); ?></label></th>

      <td><?php

      /* If there are any departments terms, loop through them and display checkboxes. */
      if ( !empty( $terms ) ) {
          echo cb_custom_form_field('departments', $terms, $user->ID);
      }

      /* If there are no departments terms, display a message. */
      else {
        _e( 'There are no departments available.' );
      }

      ?></td>
    </tr>

  </table>
<?php }

add_action( 'show_user_profile', 'cb_edit_user_department_section' );
add_action( 'edit_user_profile', 'cb_edit_user_department_section' );
add_action( 'user_new_form', 'cb_edit_user_department_section' );

/* Step 4 */
Define the function for saving the custom taxonomy by putting this code into… well the functions.php file or a plugin file. You probably get that by now but the code below does define that function:

/**
 * @param int $user_id The ID of the user to save the terms for.
 */
function cb_save_user_department_terms( $user_id ) {

  $tax = get_taxonomy( 'departments' );

  /* Make sure the current user can edit the user and assign terms before proceeding. */
  if ( !current_user_can( 'edit_user', $user_id ) && current_user_can( $tax->cap->assign_terms ) )
    return false;

  $term = $_POST['departments'];
  $terms = is_array($term) ? $term : (int) $term; // fix for checkbox and select input field

  /* Sets the terms (we're just using a single term) for the user. */
  wp_set_object_terms( $user_id, $terms, 'departments', false);

  clean_object_term_cache( $user_id, 'departments' );
}

add_action( 'personal_options_update', 'cb_save_user_department_terms' );
add_action( 'edit_user_profile_update', 'cb_save_user_department_terms' );
add_action( 'user_register', 'cb_save_user_department_terms' );

That was it! Four steps to add this awesome functionality. This data stored per user is very useful for having different types or tiers of users that have access to special content that is hidden from everyone else. Happy WordPressing!

Categories
Website WordPress

WordPress: Consider the Security of your website

I have always found it useful to install a security plugin to every WordPress website I work on so that security concerns are not always looming, they are dealt with right off the bat.

I am aware that people always say that WordPress is insecure, but that is only true if the creator of the WordPress website in question is not concerned about security because there is nothing inherently different about the security of a WordPress site that cannot be configured for more security just like a site built on any other technology.

The big three for security plugins that I like to use:

  1. Securi
  1. Wordfence
  1. iThemes Security

If you have one of these three on your WordPress website with the correct configuration your site is more secure than many sites out there. The different plugins protect against slightly different things, and some of the security has to come from the webhost but having one of these installed on your site is a huge step in the right, secure direction. You are of course welcome to provide your own security and configure things about your website and server on your own but these plugins are all great and will provide protection against most threats.

Only configure your own security if you feel like you are more equipped to handle it than the countless developers many of whom are security experts, who contributed too and created these plugins.

Categories
Web Development Website WordPress

WP Employees

This is a small WordPress plugin I wrote to use for an issue I ran into a lot as a freelancer. Many small businesses want to make a “Team Page” to showcase their staff and make the business more personal. I found myself getting needing to create these same team pages for multiple clients on WordPress.

Ahh, that sounds like an opportunity for me to work some WordPress magic, and use Custom Post Types along with custom fields to generate quick team pages.

So I did just that using PHP, HTML and CSS. The code is available on my GitHub at the link below. Happy WordPressing!