Ben Rothman - WordPress Developer WordPress Archives - Page 2 of 5 - ©2023 Ben Rothman, Web Developer

Blog

My blog is dedicated to sharing my expertise, recommendations, and tutorials on WordPress. If you're interested in developing with WordPress, my blog is a valuable resource that you won't want to miss.

Categories
Web Development WordPress

WordPress: How to send data and variables from js to PHP in an AJAX call

In this post we will learn ways to run a PHP function from JQuery and then from react.

First the JQuery:

jQuery.ajax({
         type : "post",
         dataType : "json",
         url : myAjax.ajaxurl,
         data : {
            action: "my_user_vote",
            nonce: nonce
         },
         success: function(response) {
            if(response.type == "success") {
               jQuery("#vote_counter").html(response.vote_count)
            }
            else {
               alert("Your vote could not be added")
            }
         }
      })   

   })

I’m sure many of you recognize the javascript code block above, added to your code to call an AJAX function and run a PHP function from javascript. The above code will call the PHP function my_user_vote() when an action picked up by JQuery takes place if the function exists, the AJAX hooks were added correctly and the script was in fact localized with the ajaxurl.

If we want to pass data from the original JQuery function that calls the PHP function TO that PHP function, we can simply add more ‘data’ to the call and that data/those variables will be accessible in the PHP as $_POST variables in the function that is called with the names the data was given in the data part of the call.

data : {
            action: "my_user_vote",
            nonce: nonce,
            myVariable: "foobar"
         },

Now, in my PHP function I can get the value “foobar” simply by

public function my_user_vote() {
     $my_variable = wp_unslash( wp_kses_post( $_POST'myVariable'] ) );
...
}

Now from React:

Inside the React element that you wish to send the request from we first define a function that will send a request to a specific endpoint and pass the PHP function a variable called “answers”. Define the following new function in the React element:

const run_algorithm = async () => {
  try {
      const formData = new FormData();
      formData.append('answers', JSON.stringify(answers));

      const response = await fetch('/wp-json/v1/run_algorithm', {
          method: 'POST',
          body: formData,
      });

      const responseData = await response.text();
      console.log(responseData);
  } catch (error) {
      console.error('Error calling PHP function:', error);
  }
};

Then in the return for that element, call the function. In this case we will call the PHP function when a button in react is pushed:

return (
  <>
  <div>
      <button onClick={run_algorithm}>Run PHP Algorithm</button>
  </div>
.
.
.

Finally we will do two things in the PHP. Firstly we will register a new REST endpoint and we will specify the callback function to be run when that endpoint is hit (in this case by the React request):

add_action('rest_api_init', function () {
  register_rest_route('/v1', '/run_algorithm', array(
      'methods' => 'POST',
      'callback' => 'run_algorithm',
  ));
});

Secondly we ill define the actual callback function that is hit by the REST endpoint:

function run_algorithm() {

  // pass the answers from the react
  $answers = wp_unslash(wp_unslash($_POST['answers']));

  // Return a response or print the answers for demo purposes
  return $answers;
}

These are not the only ways to send an asynchronous request from js that runs a PHP function using the REST API in WordPress but these are two possible methods that can be used depending on the structure of the project.

Categories
Web Development WordPress

WordPress: How to Use Nonces to secure AJAX calls

This article assumes you have knowledge of PHP, JQuery, developing for WordPress and enqueueing scripts and using AJAX calls that work but do not use nonce security.

I am not here to try to sell you on using nonces. Nonces do add security to AJAX calls but they are not REQUIRED, just greatly recommended. WordPress describes nonces as “a one-time token generated by a website… This could prevent unwanted, repeated, expired, or malicious requests from being processed.”

In other words, a nonce is a unique key that your website creates that allows you to verify actions. For the purposes of this article, we’re going to focus on using nonces to ensure that requests are originating from our own website.

First, let’s start by generating the nonce. The proper way of doing this is by localizing your javascript files in the PHP where you register and enqueue the script files.

wp_register_script( 'cp_script', plugin_dir_url( __FILE__ ) . '/library/js/cp_script.js', [ 'jquery' ], 'all', true );

		wp_localize_script( 'cp_script', 'vars', [
			'ajaxurl' => admin_url( 'admin-ajax.php' ),
			'nonce'   => wp_create_nonce('any_text'),
		] );

		wp_enqueue_script( 'cp_script' );

In the code above we register a script, point to it’s file, tell WordPress jquery is a dependency, and then localize into the script 1) the ajax url and 2) the nonce that we generate

Then inside the script file, create a JQuery on click function and inside it put this AJAX call:

jQuery.ajax({
	type: 'POST',   // Adding Post method
	url: cp_script.ajaxurl, // Including ajax file
	data: {
	 "action": "my_function",
	 "data"   : data,
	 "nonce": cp_script.nonce
	},
	success: function( response ) { // Show returned data using the function.
		alert( response );
	}

The final step is the shortest. Inside of my_function, the function being called by the AJAX call, just add the actual check as it’s first line:

function my_function() {
     check_ajax_referer( 'any_text', 'nonce' );
...

The check is just that one line. Notice ‘any_text’ can be subbed for any string you choose as long as it matches the string used in the function to generate the nonce, and ‘nonce’ can also be any variable name, as long as it matches the parameter passed in the data of the AJAX call.

Happy WordPressing!

Sources:

How to Add a WordPress AJAX Nonce

Categories
Web Development WordPress

WordPress: Query Loop Syntax

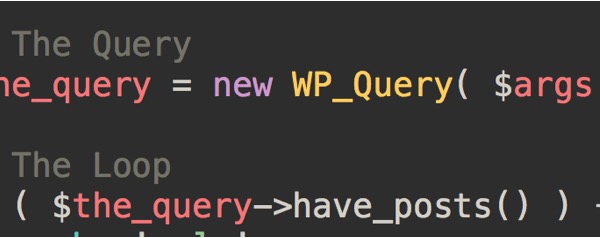
This post is long overdue on this blog. I have personally used this method of querying and iterating through the results many many times. Below is the standard structure for a query and a loop. This query and loop will find all ‘post’s on this WordPress website that have the ‘people’ taxonomy with ‘bob’ checked off.

<?php
// define the search arguments
$args = array(
	'post_type' => 'post',
	'tax_query' => array(
		array(
			'taxonomy' => 'people',
			'field'    => 'slug',
			'terms'    => 'bob',
		),
	),
);

// The Query
$the_query = new WP_Query( $args );

// The Loop
if ( $the_query->have_posts() ) {
	echo '<ul>';
	while ( $the_query->have_posts() ) {
		$the_query->the_post();
		echo '<li>' . get_the_title() . '</li>';
	}
	echo '</ul>';
} else {
	// no posts found
}
/* Restore original Post Data */
wp_reset_postdata();
Categories
Project Web Development WordPress

How to Install plugins onto my WordPress site using Composer

Installing plugins is easy enough as long as you have a basic understanding of composer and know how to use it, and this guide will explain the process.

The first thing you need to do is make a composer file in a file named composer.json. That may sound obvious, but then first steps often are:

{
	"name": "brothman01/awesome-project",
	"authors": [
	{
		"name": "Ben Rothman",
		"homepage": "https://benrothman.org",
		"role": "Developer"
	}
	],
	"repositories": [
	{
		"type":"composer",
		"url":"https://wpackagist.org"
	}
	],
	"config": {
	"platform": {
		"php": "7.3"
	},
	"allow-plugins": {
		"composer/installers": true
	}
	},
	"require": {
	"wpackagist-plugin/woocommerce": "dev-trunk",
	"wpackagist-plugin/chatpress": "2.0.1",
	"wpackagist-plugin/advanced-custom-fields": "5.12.3"
	}
}

The above JSON is the final composer file, so if you are seeing things in there that don’t make sense yet, don’t worry I am going to explain them.

[We want to use composer in this project to install plugins into the plugin directory, not the usual vendor directory, so we use the oomphinc/composer-installers-extender plugin to do that by requiring it as a dependency and then setting custom installer paths in the “extra” section, and as you can see that custom install path is set for all packages of type “wordpress-plugin”.]

We want to install WordPress plugins hosted in the official repository AND we want to install them to the correct plugins directory in the WordPress install. Wpackagist.org is a great solution for installing WordPress plugins from the official repository via composer to the correct place, so we have to add a url for that to the “repositories” section.

The rest is just requiring each plugin as a dependency package in the JSON file. To install a specific plugin from the public WordPress repository, just require wpackagist-plugin/{the-plugin-slug} and either the version or dev- then the svn directory to get the files from.

I hope you try this and come to agree that this process is easy thanks in large part to the work done by the developers of wpackagist, who designed their software to enable composer to do exactly this with ease. Enjoy!

Categories
Plugin Web Development Website WordPress

WordPress: Cloudflare Plugin

Obviously not all WordPress sites use cloudflare, in fact many of them don’t. BUT, if you have a WordPress site and you happen to be one of the people who uses Cloudflare with the site like I do from time to time then you need the Cloudflare plugin.

Why do we need the plugin? We can control everything by logging into Cloudflare and changing the configuration there. That is true, but things like purging the server cache or turning on “development mode” (a great feature) are possible without leaving the comfort of the site if you have the Cloudflare plugin installed and configured.

Just because I know any readers are wondering, “Development Mode” suspend Cloudflare’s edge caching, minification, Polish and Railgun features for three hours so that changes to images, CSS files or Javascript files can immediately be seen by users of the site. Although the site will not load as fast, development mode is good for development since the developer is constantly changing those files and using cached versions would be silly and cause the developer to think there are problems with the new code when there are none.

Categories
Web Development WordPress

Publishing failed. The response is not a valid JSON response.

After a site migration I got this error. Don’t panic, this was an easy fix, go to Settings > Permalinks and choose ‘Post name’ then press the save button. Easy right? Happy WordPressing!

Categories
Website WordPress

Could not create directory. Installation failed.

This happens sometimes after migrating from one host to another. The problem boils down to a permissions issue. If you copied the uploads folder to the new server via an ssh connection sometimes the owner of the files copied will be whoever you connected with to perform the copy.

If you want to confirm that this is in fact the issue you can run:

$ ls -ld /var/www/html/wp-content/

and you may see something like:

`

drwxr-xr-x 5 root root 4096 Feb 11 08:29 /var/www/html/wp-content/`

Which says that root is the owner because that is the user that copied the file onto the server, even though for WordPress to write to the folder, the owner needs to be www-data. This issue can easily be fixed by issuing the following command:

$ sudo chown -R www-data:www-data /var/www/html/wp-content/

Now the owner will be www-data and you will be able to upgrade files again! Happy WordPressing!

Categories
Website WordPress

How to Login to WordPress

You just installed WordPress, you are feeling tech-savvy… you basically invented the internet, haha

You were able to create your nice site, or maybe got started, but you quit your browser or logged out or something else logged you out and now you just want to get back onto the WordPress dashboard. When you first set up the site it logged you in automatically, getting back in is only a little harder.

In your URL bar just navigate to <yourwebsite.com>/login: (you may have customized the URL or something so that /login will not work anymore, but this method is the default and will work as long as you did not customize anything) ((if you know what I mean then you know if you customized the URL, if you know, you know))

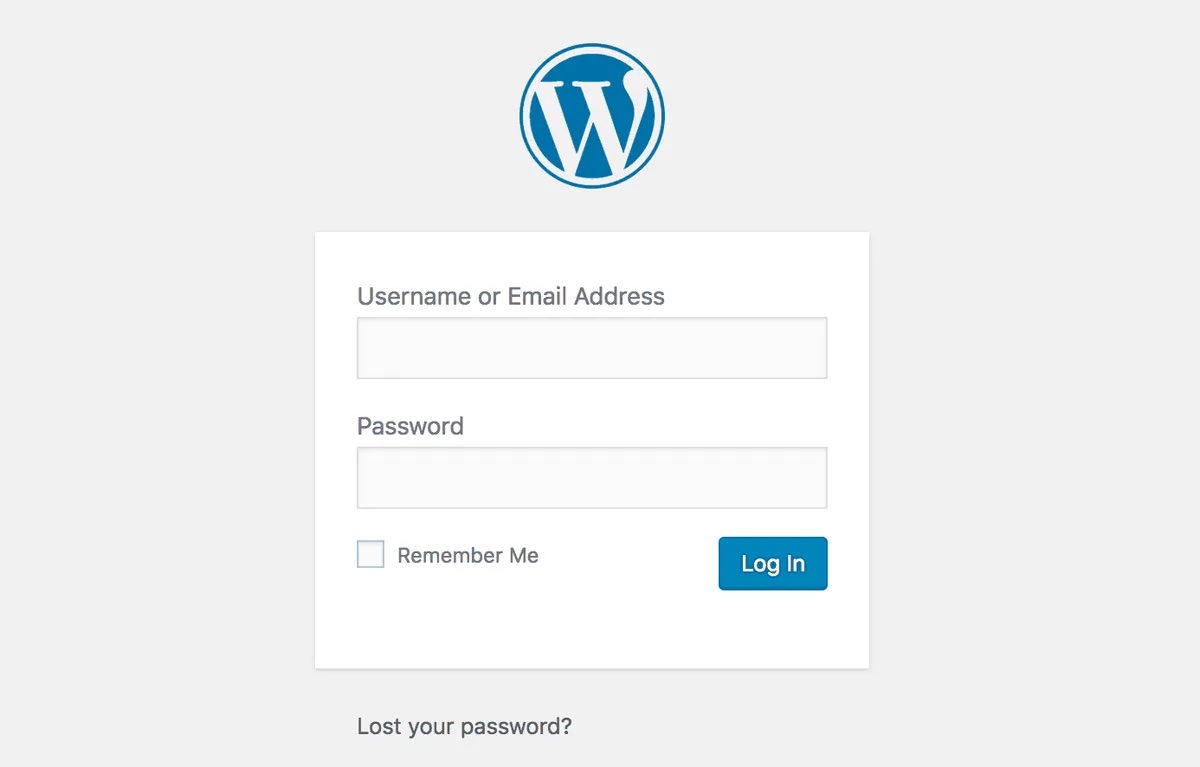
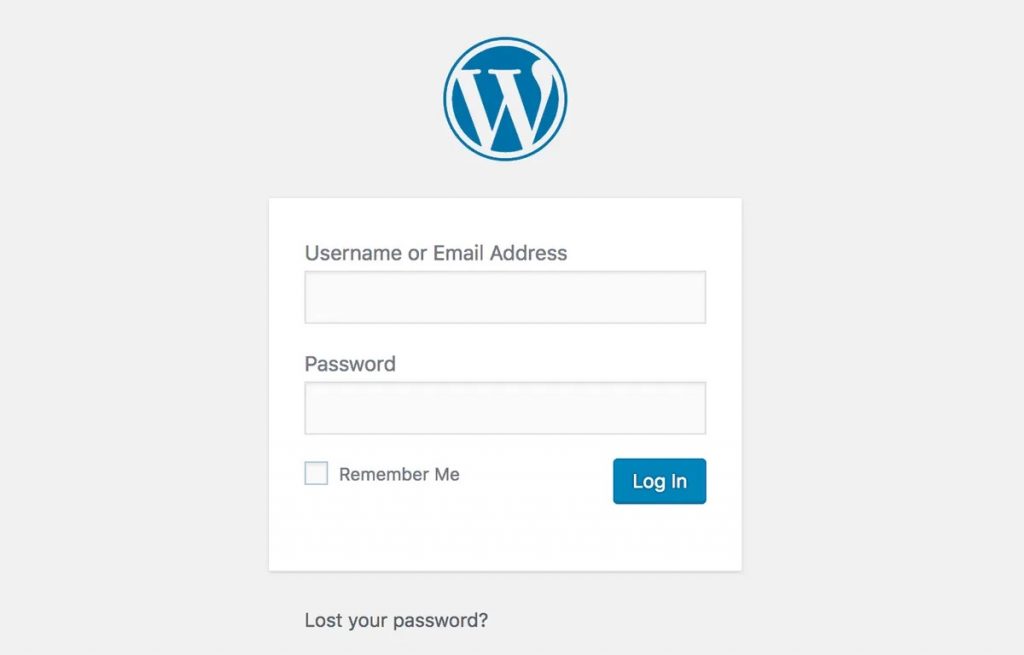
That simple step was the first of two steps, both of which are easy! After entering the URL described above, you wil be brought to the WordPress login page:

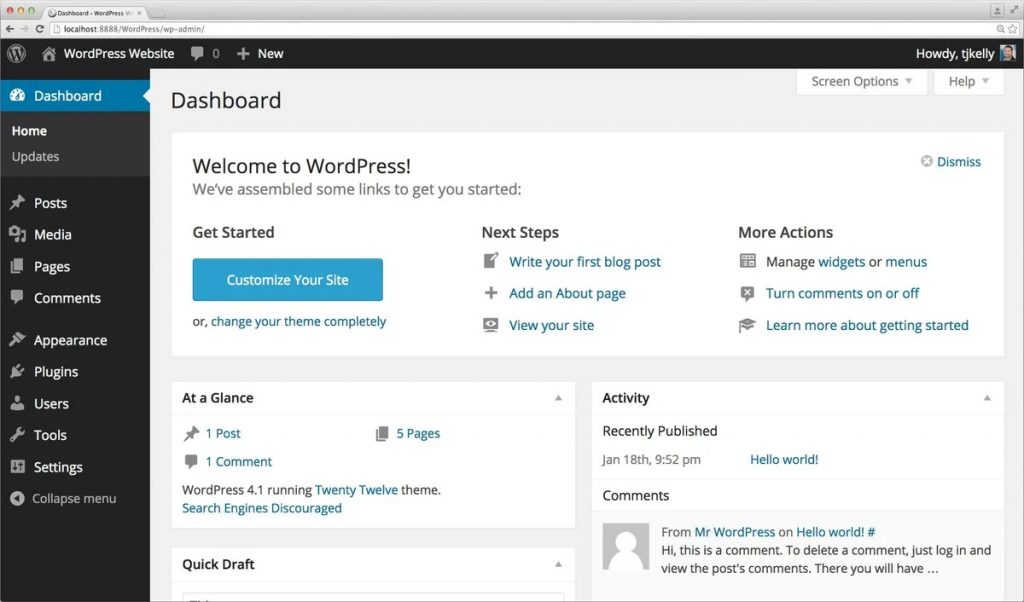
The above picture is what it looks like by default, but you can customize your login page if you want. Type in the username and password combo for the administrator account that you set up when you first created the website, click “Log In” and BAM, you are now on the WordPress Dashboard pictured below:

Your dashboard may look slightly different if you have installed plugins or customized it in other ways, but the dashboard is the dashboard. If you see something that resembles the image above then you have achieved great success and you are logged in!

Categories
Web Development WordPress

WordPress 5.9 “Joséphine”

Introducing 5.9, “Joséphine”. Named in honor of acclaimed international jazz singer Joséphine Baker, this latest, most versatile WordPress release is here: download it or update it directly from your dashboard.

As a lifelong civil rights campaigner, Joséphine Baker believed that all people could live in harmony together, just as different instruments in a jazz band blend together to make a whole piece. Turn on a playlist from your favorite music service and enjoy her famous renditions of “You are the greatest love”, “Sans Amour”, and “Love is a Dreamer” as you discover all the features of this brand-new WordPress release. 

Categories
Travel WordCamp WordPress

WordCamp US 2021

Ok I absolutely missed a lot of WordCamps but at least I could attend this one virtually.

There were some interesting talks about Gutenberg Blocks and I was impressed with how seamlessly the speakers were able to move to using the online platform to give their talks instead of in-person.

I and many people loved going to the talks live which will hopefully be coming back after this pandemic but for now online is the best we can get.