Ben Rothman - WordPress Developer Blog - Page 3 of 7 - ©2023 Ben Rothman, Web Developer

Blog

My blog is dedicated to sharing my expertise, recommendations, and tutorials on WordPress. If you're interested in developing with WordPress, my blog is a valuable resource that you won't want to miss.

Categories
Website WordPress

Could not create directory. Installation failed.

This happens sometimes after migrating from one host to another. The problem boils down to a permissions issue. If you copied the uploads folder to the new server via an ssh connection sometimes the owner of the files copied will be whoever you connected with to perform the copy.

If you want to confirm that this is in fact the issue you can run:

$ ls -ld /var/www/html/wp-content/

and you may see something like:

`

drwxr-xr-x 5 root root 4096 Feb 11 08:29 /var/www/html/wp-content/`

Which says that root is the owner because that is the user that copied the file onto the server, even though for WordPress to write to the folder, the owner needs to be www-data. This issue can easily be fixed by issuing the following command:

$ sudo chown -R www-data:www-data /var/www/html/wp-content/

Now the owner will be www-data and you will be able to upgrade files again! Happy WordPressing!

Categories
Website WordPress

How to Login to WordPress

You just installed WordPress, you are feeling tech-savvy… you basically invented the internet, haha

You were able to create your nice site, or maybe got started, but you quit your browser or logged out or something else logged you out and now you just want to get back onto the WordPress dashboard. When you first set up the site it logged you in automatically, getting back in is only a little harder.

In your URL bar just navigate to <yourwebsite.com>/login: (you may have customized the URL or something so that /login will not work anymore, but this method is the default and will work as long as you did not customize anything) ((if you know what I mean then you know if you customized the URL, if you know, you know))

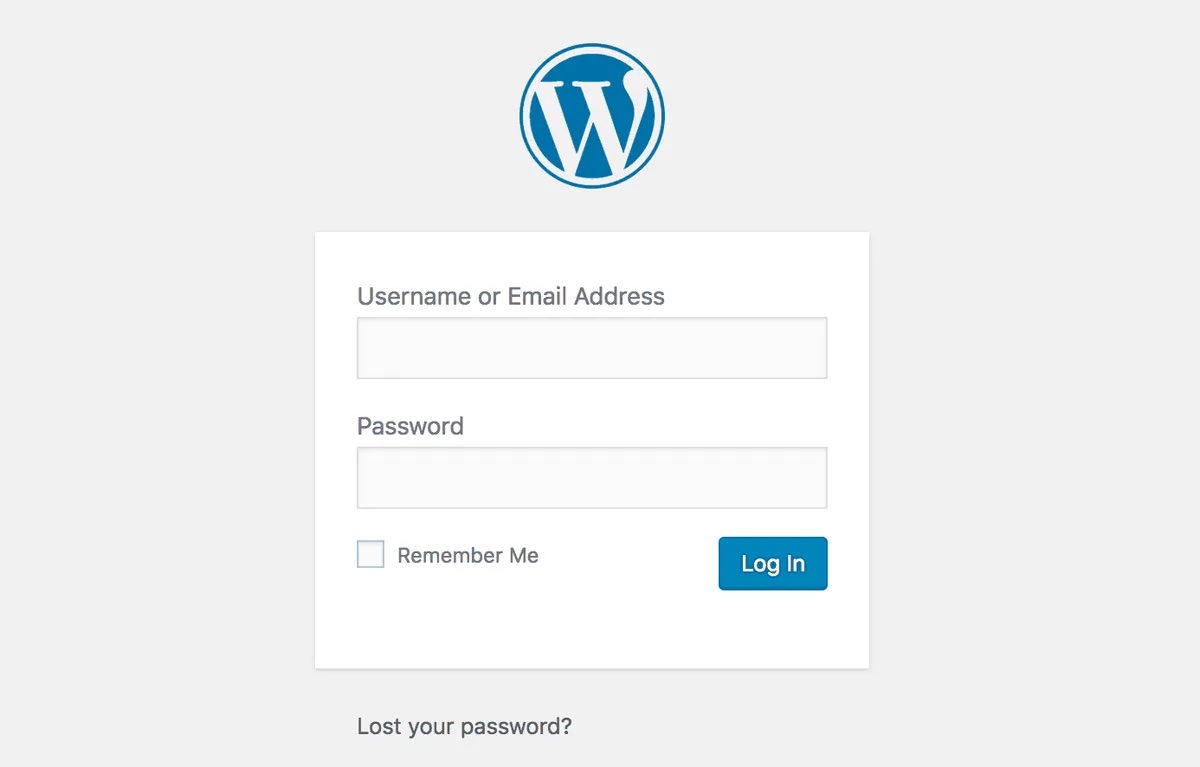
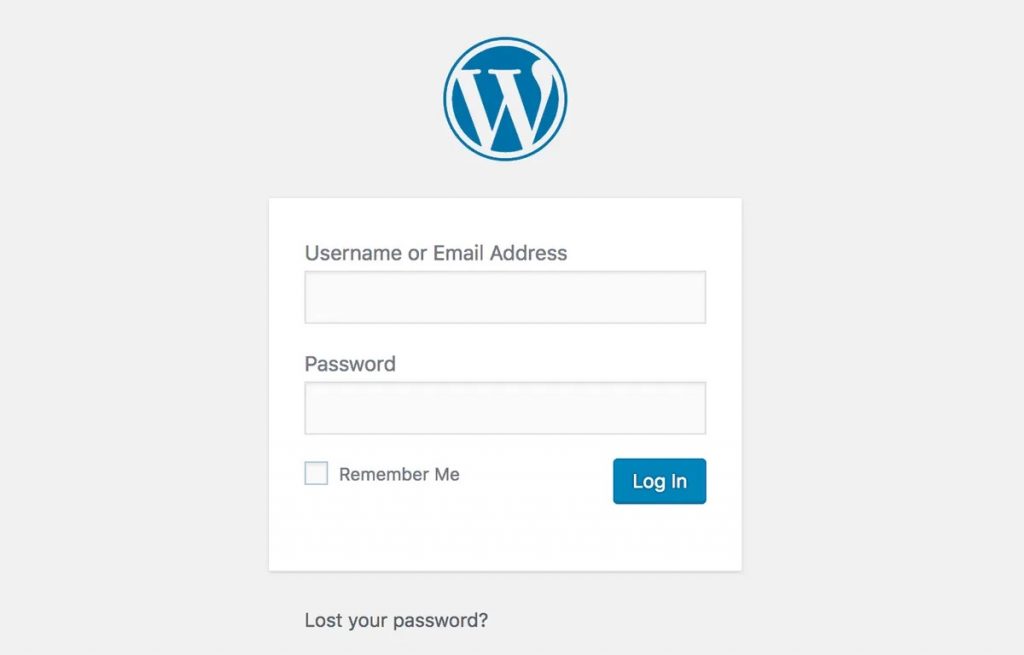
That simple step was the first of two steps, both of which are easy! After entering the URL described above, you wil be brought to the WordPress login page:

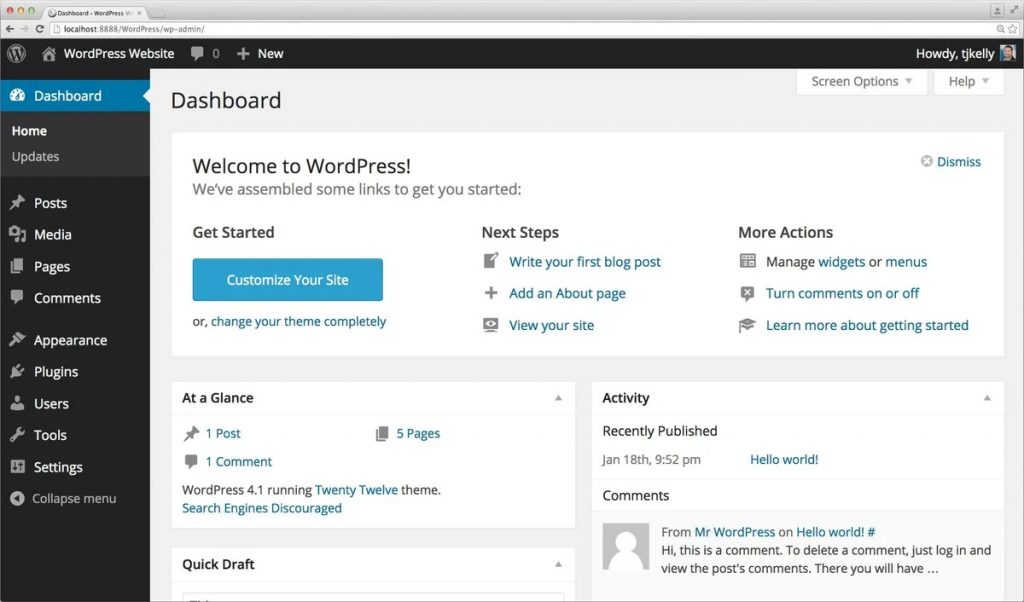
The above picture is what it looks like by default, but you can customize your login page if you want. Type in the username and password combo for the administrator account that you set up when you first created the website, click “Log In” and BAM, you are now on the WordPress Dashboard pictured below:

Your dashboard may look slightly different if you have installed plugins or customized it in other ways, but the dashboard is the dashboard. If you see something that resembles the image above then you have achieved great success and you are logged in!

Categories
Web Development WordPress

WordPress 5.9 “Joséphine”

Introducing 5.9, “Joséphine”. Named in honor of acclaimed international jazz singer Joséphine Baker, this latest, most versatile WordPress release is here: download it or update it directly from your dashboard.

As a lifelong civil rights campaigner, Joséphine Baker believed that all people could live in harmony together, just as different instruments in a jazz band blend together to make a whole piece. Turn on a playlist from your favorite music service and enjoy her famous renditions of “You are the greatest love”, “Sans Amour”, and “Love is a Dreamer” as you discover all the features of this brand-new WordPress release. 

Categories
Travel WordCamp WordPress

WordCamp US 2021

Ok I absolutely missed a lot of WordCamps but at least I could attend this one virtually.

There were some interesting talks about Gutenberg Blocks and I was impressed with how seamlessly the speakers were able to move to using the online platform to give their talks instead of in-person.

I and many people loved going to the talks live which will hopefully be coming back after this pandemic but for now online is the best we can get.

Categories
Web Development WordPress

Adding User-Specific Content to a WordPress page

There are many ways to go about this but in this post I will be focusing on using php in your WordPress page template to add content that can only be seen by users who are logged into administrator accounts.

Let’s say we have a secret message for administrators “The prize is behind door number 2”. We don’t want to share this invaluable, secret message with just anyone, we only want our friends who have administrator accounts on our website to be able to see the message.

We can create this functionality easily with WordPress using some of it’s many defined PHP functions. All we have to do are the three lines of code below:

if ( is_admin() ) {
     echo 'The prize is behind door number 2';
}

We can also use this same method with a different function to require the user to be logged in to see the message:

if ( is_user_logged_in() ) {
     echo 'The prize is behind door number 2';
}

We can even use this technique to show the message to a specific user and no one else, for a personalized message or something using the code below:

if ( '3' == get_current_user_id() ) {
     echo 'The prize is behind door number 2.';
}

I hope these three short examples demonstrate to you how powerful WordPress custom code using the pre-defined functions can be. Using a relatively small amount of code, I can extend this functionality to add some really useful new features to my website and so can you. Happy WordPressing!

Categories
Plugin Web Development WordPress

Fixed ChatPress

I installed ChatPress on a website with a new theme today and it looked squished and strange. It was still legible and everything but the whole appearance just looked a little sloppy to me. I’m sure some people would have told me the plugin looked fine and that whether it works or not (which it always did) was more important.

Functionality alone is not enough for me, so I went to work diagnosing the problem and creating a fix. I found that the problems were CSS-related so I went to my scss files, made the changes and recompiled my scss into css so that I could use them for the plugin and voila, it was fixed!

Categories
Web Development

How to Control a Youtube Video with javascript

Last Tested: 11/21/2020

Sometimes a web developer needs to perform this very important control/monitoring functionality. Whether you need to play a video, see if a video has been watched in its entirety or just integrate the embedded youtube video’s functionality into your code for another reason, it can all be done using the youtube API.

The first important (albeit basic) part of using the Youtube API for these functions is that although the video on your page will look like an embed, you are actually putting an empty div on your page with HTML and the Javascript calls the API and replaces that div with the video you specify.

  1. Put the following in the code of your HTML page:
<div id="video-placeholder"></div>

2. Include a javascript file with the following content (but change videoId to the ID of your video):

var player;

function onYouTubeIframeAPIReady() {
    player = new YT.Player('video-placeholder', {
        width: 600,
        height: 400,
        videoId: 'Xa0Q0J5tOP0',
        playerVars: {
            color: 'white',
            playlist: 'taJ60kskkns,FG0fTKAqZ5g'
        },
        events: {
            onReady: initialize
        }
    });
}

function initialize(){

    // Update the controls on load
    updateTimerDisplay();
    updateProgressBar();

    // Clear any old interval.
    clearInterval(time_update_interval);

    // Start interval to update elapsed time display and
    // the elapsed part of the progress bar every second.
    time_update_interval = setInterval(function () {
        updateTimerDisplay();
        updateProgressBar();
    }, 1000)

}

3. Include this code in your html page to get the current duration of the video automatically updated:

// This function is called by initialize()
function updateTimerDisplay(){
    // Update current time text display.
    $('#current-time').text(formatTime( player.getCurrentTime() ));
    $('#duration').text(formatTime( player.getDuration() ));
}

function formatTime(time){
    time = Math.round(time);

    var minutes = Math.floor(time / 60),
    seconds = time - minutes * 60;

    seconds = seconds < 10 ? '0' + seconds : seconds;

    return minutes + ":" + seconds;
}

4. Include this code in your HTML page to add a play button for the video:

$('#play').on('click', function () {

    player.playVideo();

});

5. Include this code in your HTML page to add a pause button for the video:

$('#pause').on('click', function () {

    player.pauseVideo();

});

Disclaimer: I do not work for youtube and so had no involvement whatsoever in the creation of Youtube or it’s excellent API. For more information about using the youtube embed API visit the site listed in my sources for a more in-depth explanation.

Source(s):

  1. https://tutorialzine.com/2015/08/how-to-control-youtubes-video-player-with-javascript
Categories
Web Development

[HowTo] Install Atom, Brew and Node (npm and npx) on Mac

Ok, lets start by saying that I know the title is a lot. It is not just one or two tools that this guide helps you install, it’s all of those tools listed above, plus a few more that are required to run those tools.

But Ben, why not break this guide into several easier-to-manage guides that install one or two tools at a time? Well, I am writing this guide to help with all of those installations, BUT you can start this guide from anywhere and just pick and choose the tools you want.


First, Atom. The atom editor is the easiest of the bunch to install, just go to https://www.atom.io and download it. The website will automatically detect your OS (unless you are on a crazy one or have some kind of unusual configuration). Easy, one step


Next we will go on to installing Brew. At the time of writing this guide, the terminal command to execute is:

/bin/bash -c "$(curl -fsSL https://raw.githubusercontent.com/Homebrew/install/HEAD/install.sh)"

but if that is not working for some reason or you want to troubleshoot, you can go to https://www.brew.sh . Wow, another one-stepper, I guess this guide is shorter than you thought.


Next we will install Node which as noted in the title will allow you to use both the npm and npx commands. For this installation I recommend using a package manager such as Brew and fortunately I just showed you how to install one above. All we have to do for this one is run the command:

brew install node

and you will now be able to use npm, npx and node packages in general. If you want to confirm that node is in fact installed on you computer you can run node -v.


We are just flying through this guide! Next, we will install composer. To be honest, you may not have to use this tool much after today, but let’s just install it anyway because it is a great tool and a requirement for the next step which is installing valet.

Categories
Project Web Development Website

Park Picker

This project is written with PHP, HTML/CSS and JQuery with some light javascript in there too.

I was given a list of parks, tags that relate to them (like dogpark, pond and bike path), the park’s website and a picture of that park; I made all of that information into a JSON file. All of the tags of every park are all listed all together each one time and the user chooses the tags for their ideal park, something that has all of or as many of the tags as possible.

The JQuery then immediately rebuilds the page (without a page refresh) and lists the parks in order of how many tags it has that match the tag criteria as well as gives a grade to each park that shows how many tags.

It’s not a terribly complex project, but it gets an important job done and solves a problem in away that is relatively easy to maintain.

This project can be found on my GitHub at: https://github.com/brothman01/park-picker

Categories
Plugin WordPress

WordPress: Formidable Forms

If you want a complex form with conditional logic, advanced scoring, user registrations and much more, Formidable Forms is the plugin for you. If you want a contact form this plugin works excellently for that too, it’s much more power than you need but it is a good solution.

Formidable forms has an easy-to-use graphical interface to build forms, and then can add conditional logic/assign scores or values to responses right there. If you need to refer to the value of a field in the value of another field, email it or otherwise use it elsewhere in the form, you can just refer to the index number associated with that field or use a url parameter right in the Formidable Forms interface.

If you need complicated and very powerful forms on your site and do not want to build them with code then this is the plugin for you.

There is even a very useful API add-on that I used at work to create API sends to specific endpoints and with specific data including but not limited to the data entered on the form.